How To Master Wet-On-Wet
How To Master Wet-On-Wet 💧
If there's one watercolor technique that captures the medium's ethereal, fluid beauty, it's wet-on-wet. Loved by beginners and pros alike for its ability to create seamless blends, soft edges, and organic gradients, this method is a gateway to painting skies that glow, flowers with tender hues, and landscapes that feel alive with movement. Let's dive into the magic of wet-on-wet and how you can master it to add that "wow" factor to your art.
What Exactly Is Wet-on-Wet?
At its core, wet-on-wet is about applying wet paint to a pre-wetted surface. Unlike dry brush techniques that rely on crisp lines, this method lets colors mingle, bleed, and merge naturally—think of it as letting the water do the work. The result? Soft transitions that are nearly impossible to replicate with other techniques, making it perfect for capturing the mistiness of a morning forest, the blush of a sunset, or the delicate petals of a water lily.
A few key steps will help you avoid muddy results and embrace happy accidents. Here's how to do it:
1. Choose the Right Paper
Not all watercolor paper is created equal for wet-on-wet. Opt for heavyweight paper (140lb/300gsm or more)—it absorbs water better without warping. Cold-pressed paper is ideal: its slight texture holds paint nicely, while hot-pressed (smoother) works for softer blends.
2. Prep Your Workspace
Tape your paper: Secure it to a flat surface (like a board) with masking tape to prevent warping as it dries.
Mix your colors first: Wet-on-wet moves fast! Have your paints mixed and ready in your palette before wetting the paper—you won't have time to blend mid-process.
3. Wet the Paper (The Secret Sauce)
This is where precision meets intuition:
Use a large, soft brush (a flat or round brush works best) to apply clean water to your paper.
Aim for even dampness: The paper should look shiny but not puddle. If water pools, dab it gently with a paper towel—too much moisture can cause colors to run uncontrollably.
Work in sections if painting a large piece: Wet one area (like a corner of the sky) at a time to keep it from drying out.
4. Add Your Colors
Now for the fun part! While the paper is still wet (but not soaking), load your brush with diluted paint and touch it to the surface. Watch as the color spreads like magic—this is where the blending happens naturally.
Layer light to dark: Start with lighter hues (e.g., pale yellow for sunlight) before adding deeper tones (soft blue for shadows). This prevents muddiness.
Let colors interact: Drop a second color near the first, and let them merge on their own. For example, red and yellow will bleed into a perfect orange gradient without you lifting a finger.
Work quickly but calmly: The paper dries faster than you think! Focus on placing colors where you want them, but don't stress—imperfections often add charm.
Pro Tips for Wet-on-Wet Success
1. Test first: Practice on scrap paper to get a feel for how your paper absorbs water and how your paints blend. Every brand of paper and paint acts a little differently!
2. Control with temperature: Warmer water makes paint flow more freely; cooler water slows it down. Adjust based on how "wild" you want the blending to be.
3. Use less paint, more water: Diluted (thinner consistency) spreads better and creates softer effects. Thick paint can clump or dry unevenly on wet paper.
4. Try "wet-in-wet" variations: For more control, wet only part of the paper (e.g., the center of a flower) and leave edges dry—this creates a mix of soft and crisp lines.
Troubleshooting Common Wet-on-Wet Hiccups
Colors turned muddy? You likely added too many dark or complementary colors (like red and green) while the paper was still wet. Stick to 2-3 hues per section.
Edges are too hard? The paper dried faster than you expected. Work in smaller sections or mist the paper lightly with a spray bottle to keep it damp.
Paint pooled and dried unevenly? You over-wetted the paper. Next time, use a drier brush or blot excess water before adding paint.
Recommended Art Supplies for Wet-on-Wet
Ready to practice wet-on-wet technique? Here are the perfect supplies to get you started:

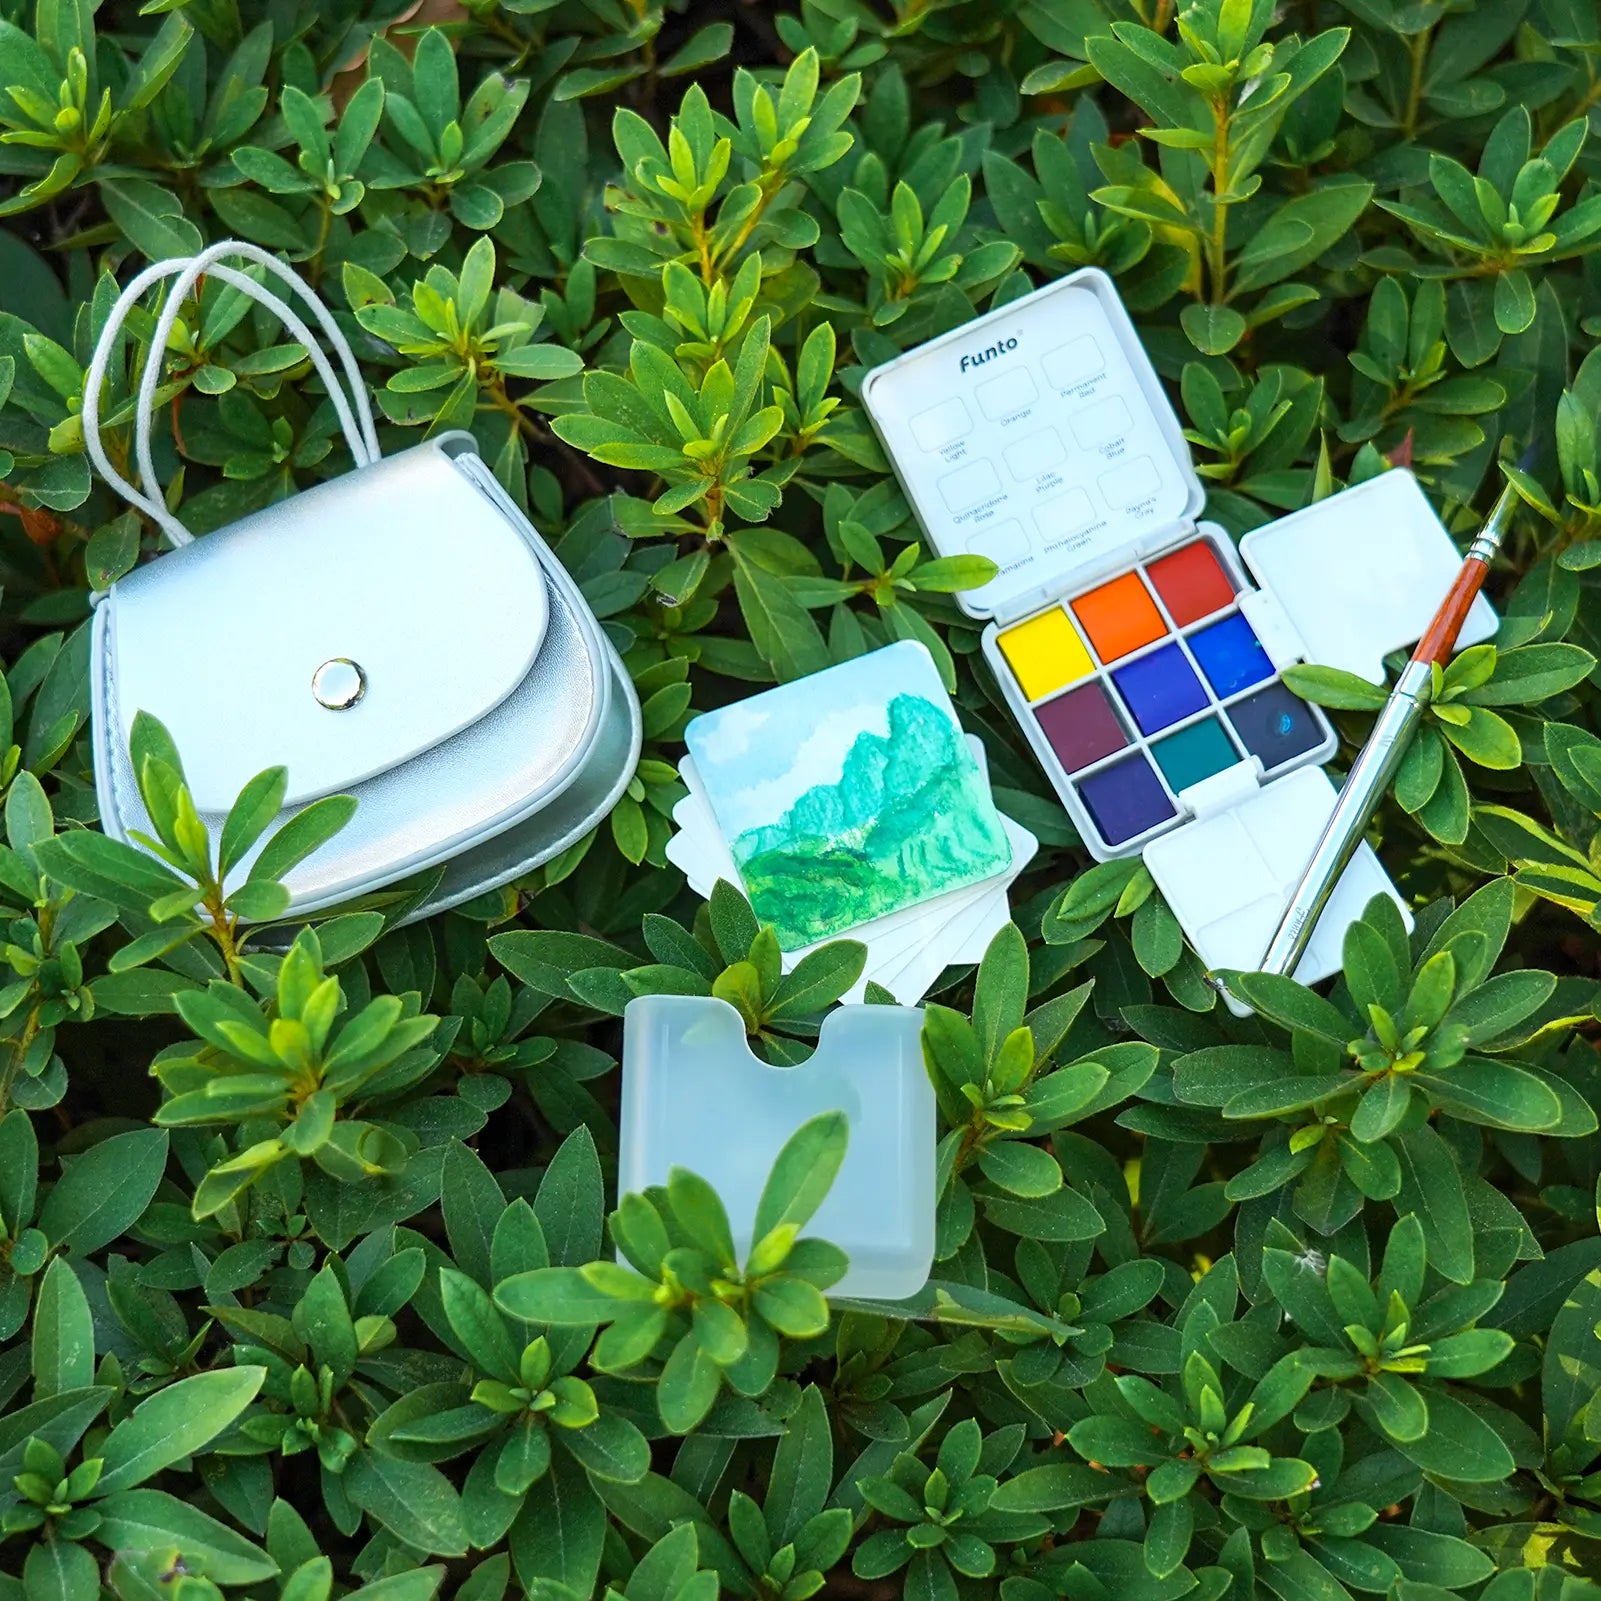
12 Colors Travel Watercolor Set
Perfect for practicing on the go

Hand Poured Mini 24 Colors Watercolor Paint Set
More color options for blending

4.7\"x4.7\" Watercolor Journal 100% Cotton Cold Press Papers
Ideal heavyweight paper for wet-on-wet

3.9\"x3.9\" Watercolor Journal PU Leather Hard Cover
Premium cotton paper perfect for this technique
Wet-on-wet is all about letting go of rigid control and embracing the medium's spontaneity. It's where mistakes become happy accidents—a blob of blue might turn into a perfect cloud, or a stray pink could bloom into a flower petal.
Grab your brush, wet your paper, and let the colors dance. Whether you're painting a serene lake at dawn or a bouquet of roses with soft edges, wet-on-wet will infuse your art with a warmth and fluidity that's uniquely watercolor. 🎨